![图片[1]-利用 G Suite/Workspace搭建自己的邮局|实现无限别名邮箱-G-Suite](https://g-suite.cc/wp-content/uploads/2021/03/ebd51-new-to-g-suite-2.png)
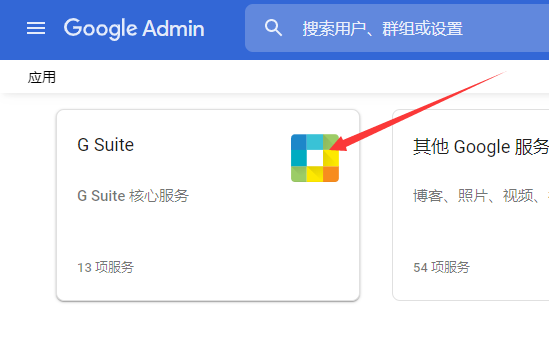
1.登录到您的控制面板:
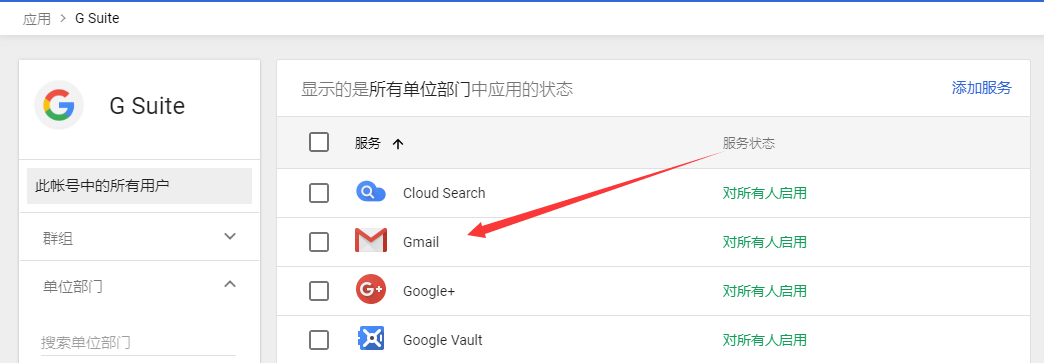
2.导航至应用–>G Suite –> Gmail:
https://admin.google.com/AdminHome?hl=zh_CN#AppDetails:service=email

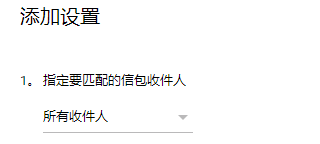
3.选择 默认转送设置–>添加设置


将选择更改为“所有收件人”
在“同时递送给”下,选择“添加更多收件人”。
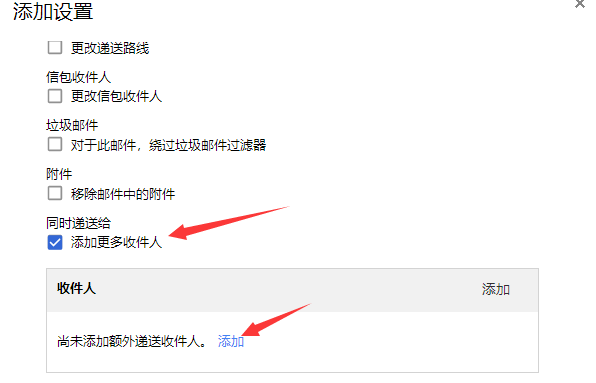
输入您要接收邮件的邮箱
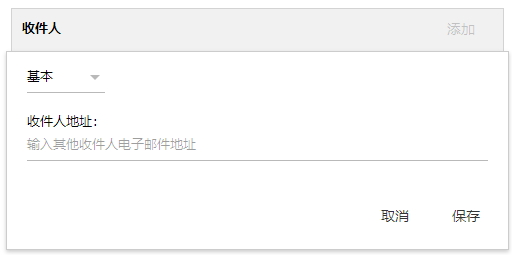
(可选)取消垃圾邮件过滤,以防止收不到某些邮件。
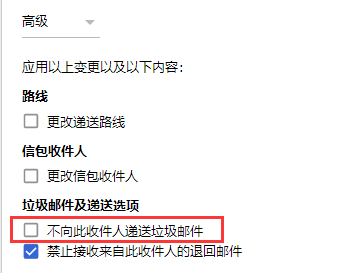
4.点击保存,至此就全部搭建完成了。
5.测试
发送测试邮件
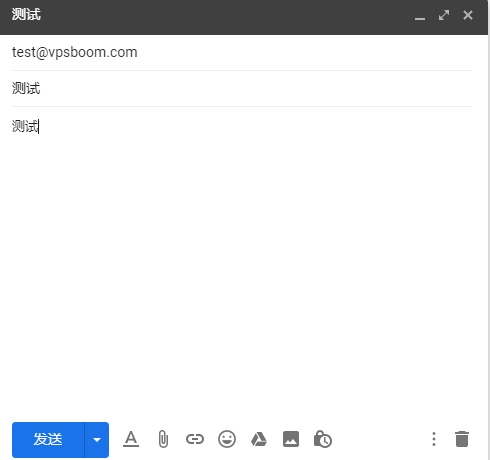
成功接收
THE END

![图片[1]-利用 G Suite/Workspace搭建自己的邮局|实现无限别名邮箱-G-Suite](https://g-suite.cc/wp-content/uploads/2021/03/ebd51-new-to-g-suite-2.png)
1.登录到您的控制面板:
2.导航至应用–>G Suite –> Gmail:
https://admin.google.com/AdminHome?hl=zh_CN#AppDetails:service=email


3.选择 默认转送设置–>添加设置


将选择更改为“所有收件人”

在“同时递送给”下,选择“添加更多收件人”。

输入您要接收邮件的邮箱

(可选)取消垃圾邮件过滤,以防止收不到某些邮件。

4.点击保存,至此就全部搭建完成了。
5.测试
发送测试邮件

成功接收
暂无评论内容